How to create a custom Apple Mail email signature

Adding a custom, professional-looking signature to your emails is an excellent way to set yourself apart and establish your personal or business brand.
Here’s how you can create and customize your Apple Mail email signature.
Table of contents
- How to add a signature in Apple Mail
- Optional signature formatting in Apple Mail
- Automatically add your signature to Apple Mail emails
- How to add logos to email signatures in apple mail
- How to add HTML signatures to Apple Mail
How to add a signature in Apple Mail
- Log into the ‘Mail’ app on your Mac device.

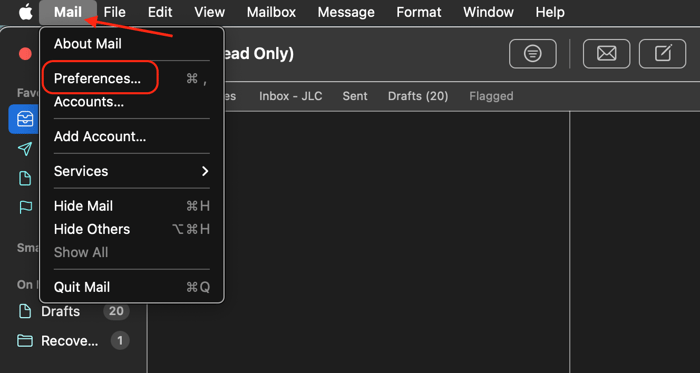
- Select ‘Mail’ and then ‘Preferences’ to open the settings menu.

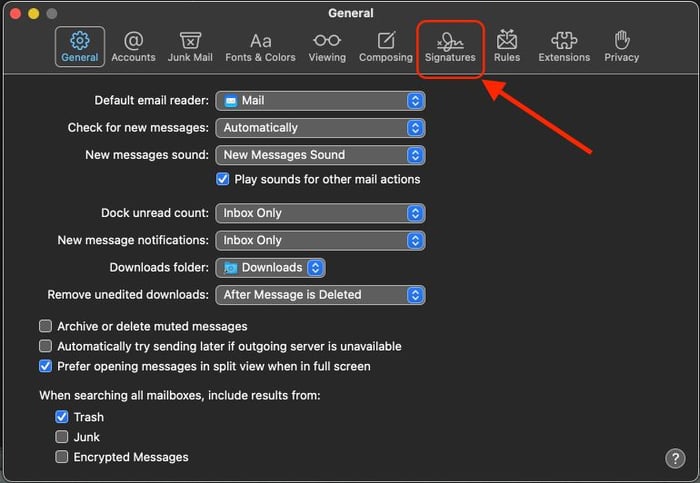
- Select ‘Signatures’.

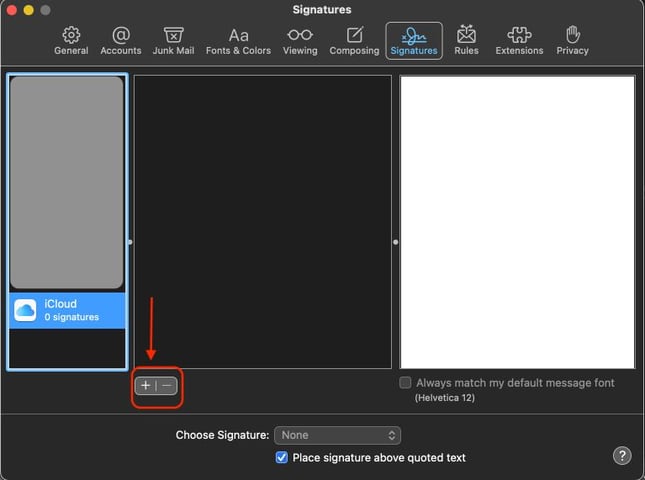
- Using the left panel (account list), select the account you want to create a signature for.

- Select the + button in the middle panel to add a signature.
- Using the middle column (signature list), type a label for the signature, such as “Default Signature.”
You’ll use that name to select the signature when adding it to an email.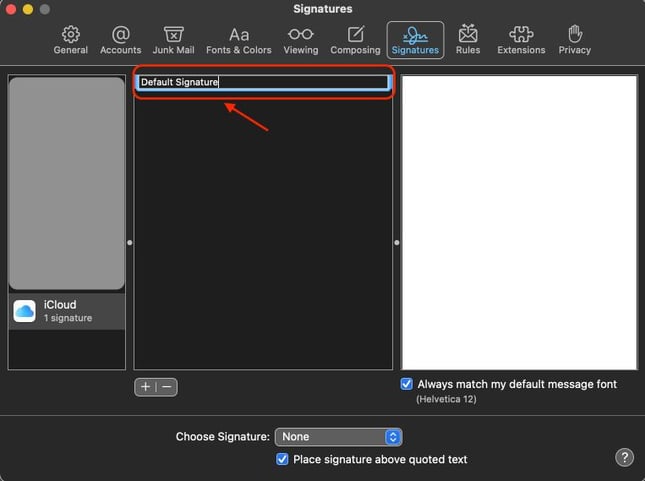
- Use the right column (preview area) to create your signature. You can add text, change formatting, and add an image by dragging an image into the preview box.
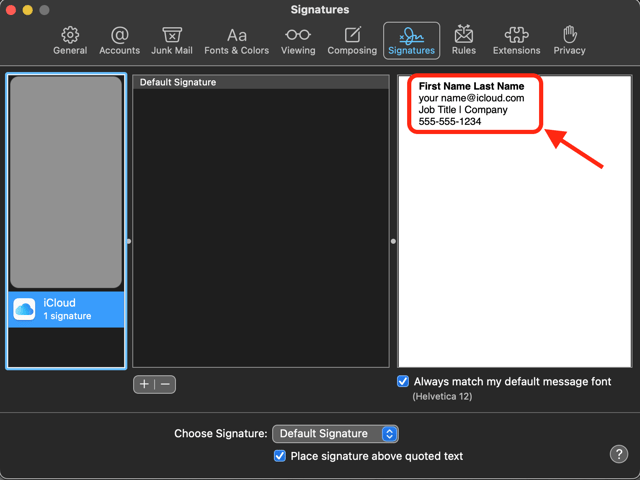
Once you’ve created a signature here, it will be available for you to choose from when creating a new email from that account.
Apple Mail users can use HubSpot’s Email Signature Generator to create customized, professional email signatures to copy and paste into their signature settings.
Optional signature formatting in Apple Mail
In the signature creator of Apple Mail, you’ll see two checkboxes.
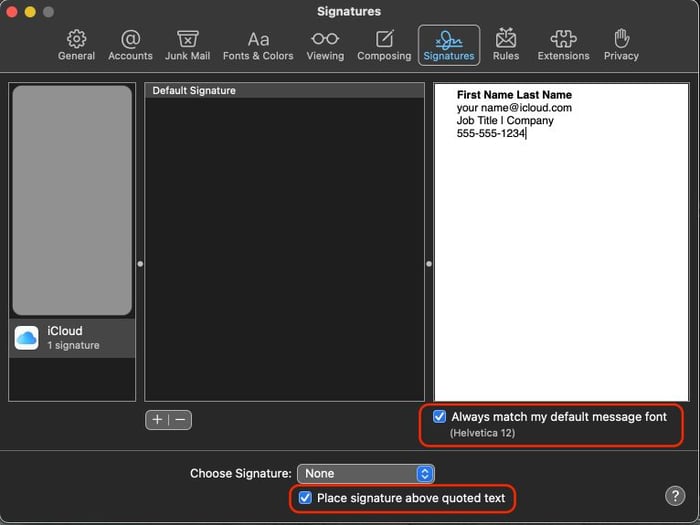
The first says ‘Always match my default message font’.
Check this box if you want your email signature to match the default font style and size you use for emails. Uncheck this box if you want to use custom formatting.
The second checkbox says ‘Place signature above quoted text’. That tells Apple Mail where to put your signature on messages you reply to or forward.
If you check the box, your signature will appear after the message that you typed above the original message. If you uncheck the box, your signature will appear at the bottom of the thread.
Automatically add your signature to Apple Mail emails
To automatically add a signature to every email, you can follow these steps.
- Open the Mail app and navigate to ‘Mail,’ then ‘Preferences’.
- Navigate to ‘Signatures’ and select an account in the left column.
- Use the ‘Choose Signature’ dropdown menu in the middle column to select the signature you want to automatically add to your emails.

You can still change or remove signatures automatically added to your Apple Mail emails. To do this, use the ‘Signature’ dropdown menu in a new email and select ‘None’ to delete the signature, or choose a different signature to replace your default one.
How to add logos to email signatures in apple mail
One of the best features for Apple users is the Apple Mail image in signature functionality. You can easily use your Mac computer or laptop to add a logo to your email signature.
To add a logo to your Apple Mail signature:
- Add an image file of your logo to your Mac desktop.
- Open the Mail app.
- Navigate to ‘Mail’ and then ‘Preferences’.
- Select ‘Signatures’.
- Drag and drop the image file from your desktop to the right column where you can edit your signature.
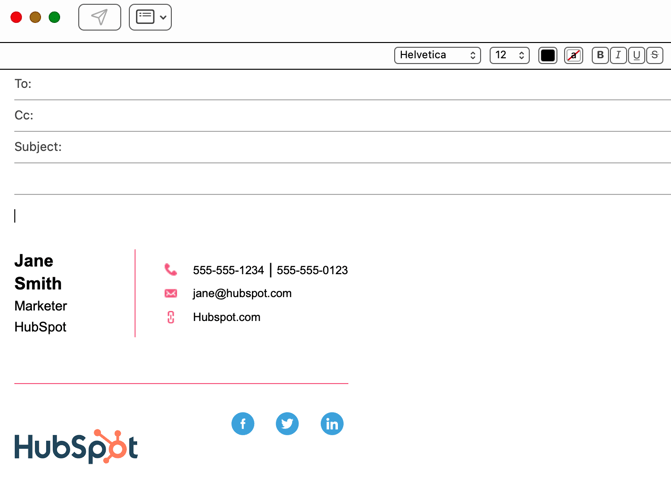
![]()
And that’s it! Your image will appear in your Apple Mail signature. (You can remove it by highlighting the image and hitting ‘delete’.)
If you’re using Apple Mail, you can create a professional email signature with HubSpot’s Email Signature Generator and paste it into your signature settings.

How to add HTML signatures to Apple Mail
Apple Mail doesn’t allow you to paste HTML code directly in the ‘Signatures’ pop-up menu. Instead, you’ll need to create a new signature and then find and edit the signature file on your Mac.
You can find more detailed instructions about adding an HTML signature to Apple Mail here.
That being said, there’s an easier way to get a custom-formatted signature to Apple Mail using HubSpot’s Email Signature Generator.
To add your custom signature to Apple Mail after creating it on HubSpot:
-
Copy your signature.

-
Open the Mail app, then navigate to ‘Mail’ and ‘Preferences’.
-
Select ‘Signatures’.
-
Create and label a new signature, and uncheck the box that says ‘Always match my default message font’.

- Paste your signature in the right column, and that’s it! Your custom signature will appear when you draft a new email.
Customizing your email signature on Apple Mail only takes a few minutes. If you need to make changes, it’s easy to go back and edit or create variations.

Make a signature using HubSpot’s free Email Signature Generator in just a few clicks, then copy and paste it right into Apple Mail.